|
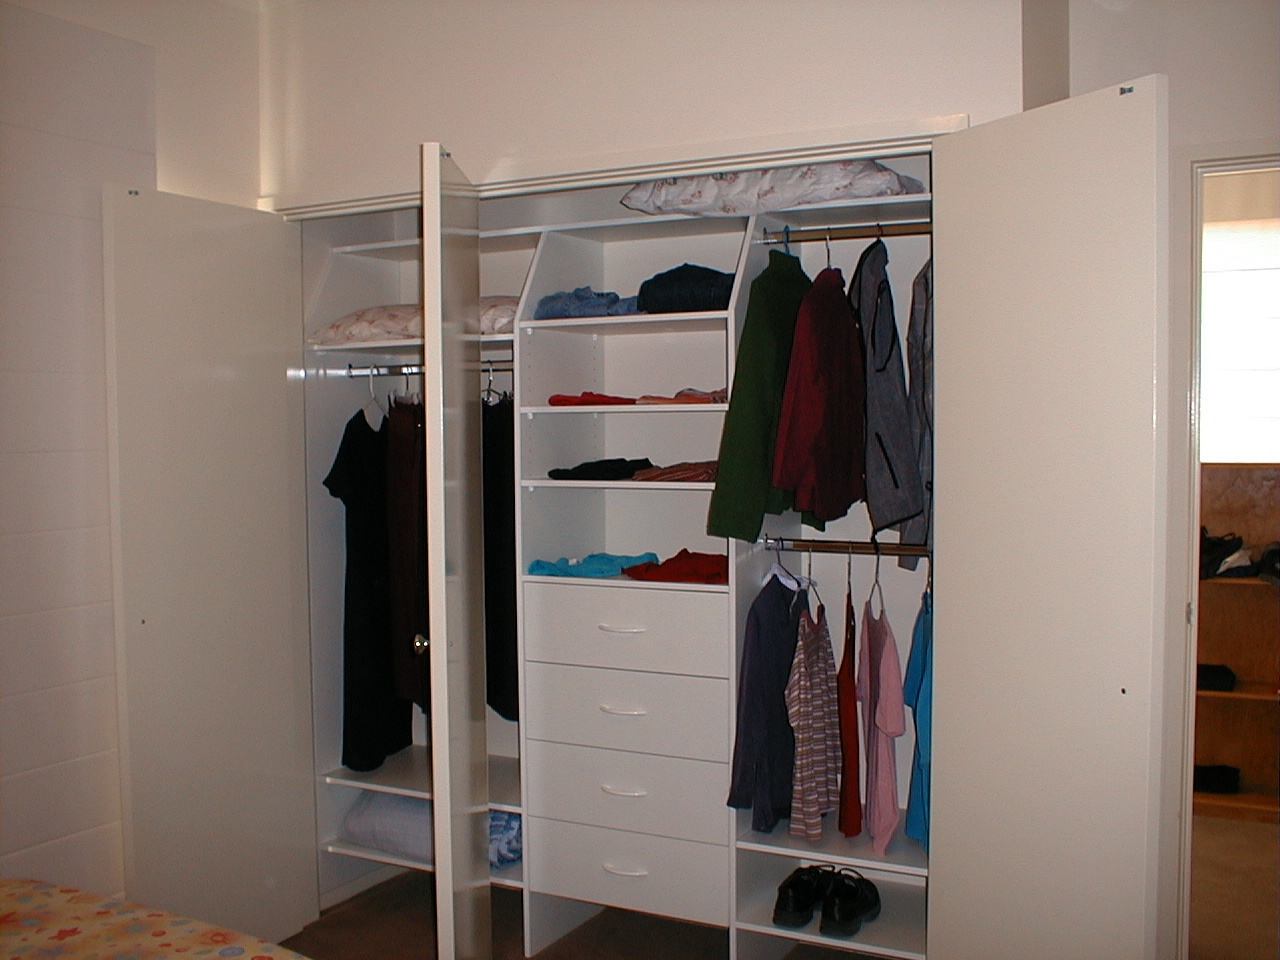
Wardrobe Internals

2. If you have included Drawers, click below for Info on how to assemble these:
3. Starting from the Left, install the Left Top Fixing Rail, then the Left Vertical Divider, then the next Top Fixing rail and so on (always working from Left to Right). Then you can insert the drawer carcass & then any Fixed shelves (using the supplied Cam Fittings).

4. Now you can screw the Wardrobe Internals to the walls via the Top Fixing Rails and also through the Left and Right Blades. Where the blades come into contact with the walls, often there is a small gap (1 to 3mm) and this is due to slight variations within the wall itself. Some people just ignore this, however if you have the time you can use some white chalking (no more gaps) to neatly and professionally seal this up. It takes a little longer, but the end finish result is better –The chalking (no more gaps) and applicator gun are available from your local hardware store. Insert your Drawers and you are done.


We hope that this information has been helpful for you.
If you need further help or more information on this topic please:
|
|